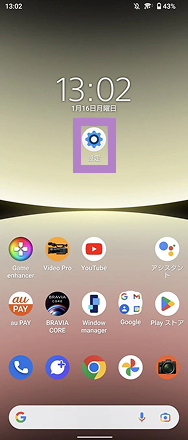
The screen layout and operation procedures may vary depending on the model and OS version you are using.
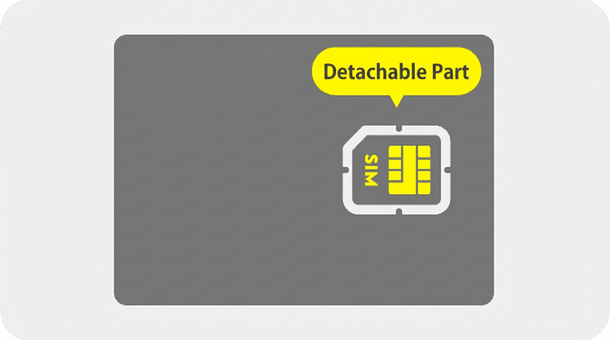
*Please refer to the instruction manual for your mobile phone for installation instructions.* povo2.0 SIM cards are compatible with Nano, Micro, and Mini sizes.
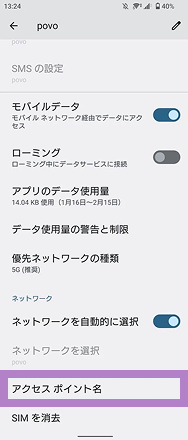
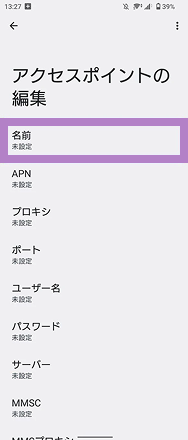
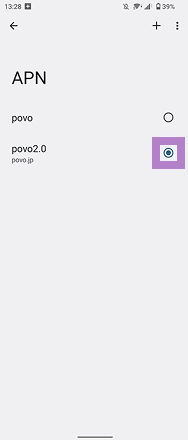
Please set the APN for povo2.0 and select it.
* In most cases, APN settings are required for Android smartphones purchased from au.* This setting is not necessary if "4G" or "5G" is displayed next to the signal icon, or if data communication is possible with Wi-Fi turned off.* The item name may be displayed differently depending on the model. Please refer to the instruction manual for instructions on how to add an APN (Access Point Name).


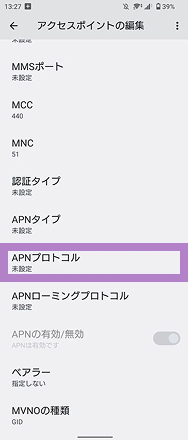


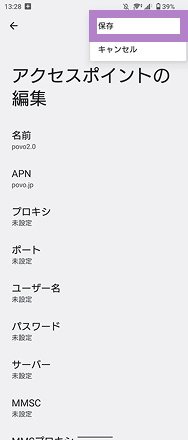

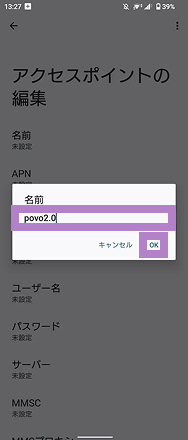
Items to be entered
[name]
povo2.0
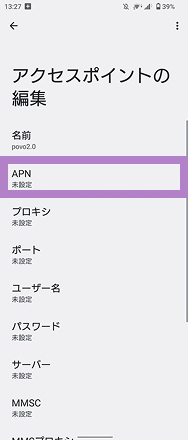
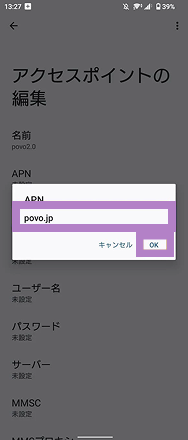
[APN]
povo
[APN Protocol]
IPv4 / IPv6
Please call the test number (111/toll-free), listen to the guidance to the end, and then hang up.
*The test number (111) cannot be used from outside Japan.
With Wi-Fi turned off, open your browser and check whether you can access the website (https:// povo.jp) using mobile data.
* Before purchasing data Topping, it may take some time for the screen to display, but as long as the screen is displayed, there is no problem.* To access from outside Japan, you will need to purchase "Overseas data Topping."
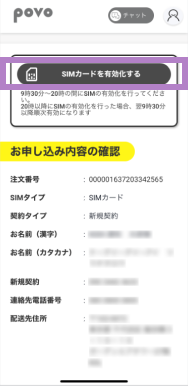
Once the call test and mobile data communication test are complete, the SIM card activation procedure is complete.
Purchase Topping and enjoy the world of povo
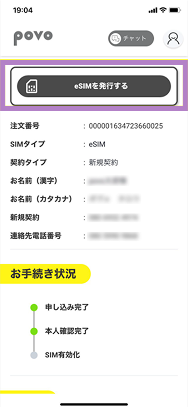
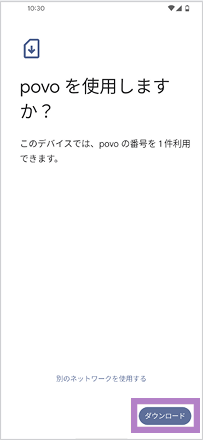
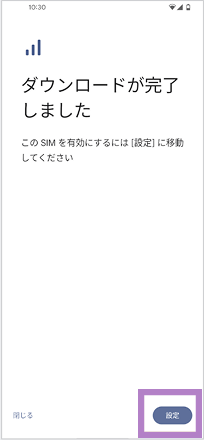
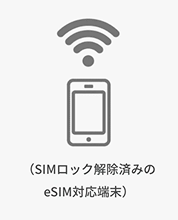
Please ensure that STEP 2 and all subsequent steps are carried out on the device intended for eSIM setup.
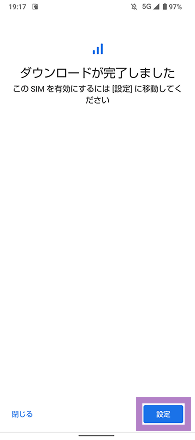
*Downloading the eSIM may take some time.
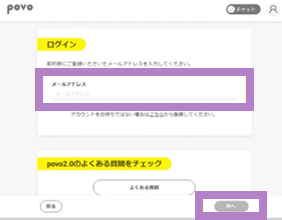
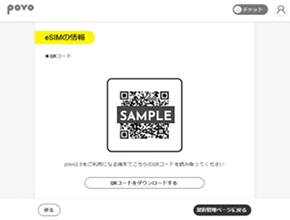
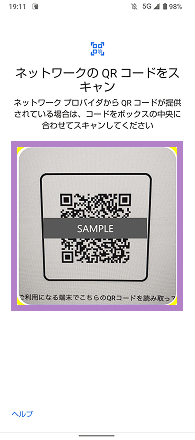
The "Download eSIM profile" button is only available for version 1.24.0 or later of the povo2.0 app. If you are using version 1.23.0 or earlier, or if you are using the 1.24.0 app and are unable to download by tapping the button, please follow the steps here for "If you are using one eSIM device (code entry method)" or "If you have multiple devices (QR code method)."


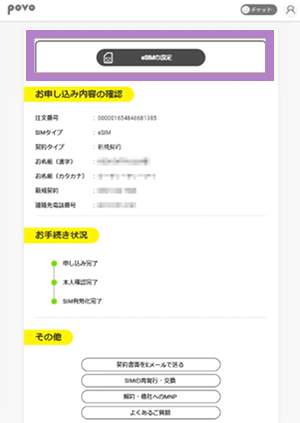
*To move to the STEP 2-1 screen after transitioning to the home screen, tap "Profile Page" > "Contract Management" in the upper left of the home screen.*Even if you transition to the home screen, please make sure to check the call test and mobile data communication test before purchasing Topping.
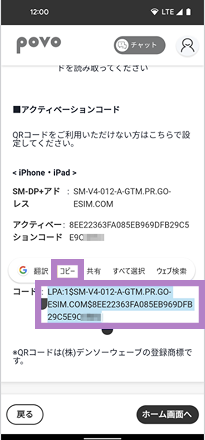

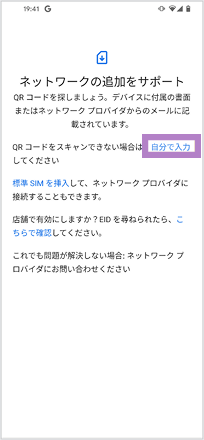
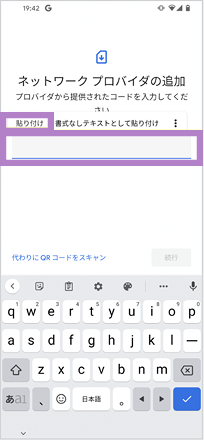
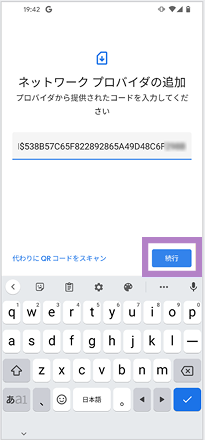
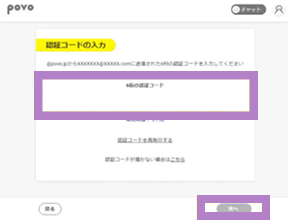
*If you are unable to complete the eSIM setup, it may be because the code was not copied properly. Please double-check that all alphanumeric characters have been copied and try again. If this still does not work, please try the "QR code method" below.
*To move to the STEP 2-1 screen after going to the home screen once, go to the person icon in the upper left corner of the home screen > Contract Management.


*Please purchase Topping only after checking the call test and mobile data communication test in STEP 5.
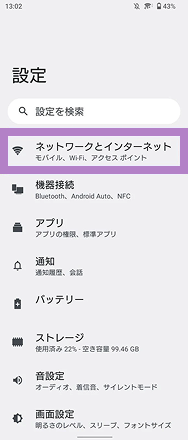
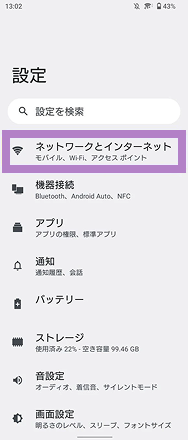
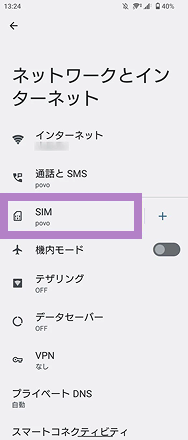
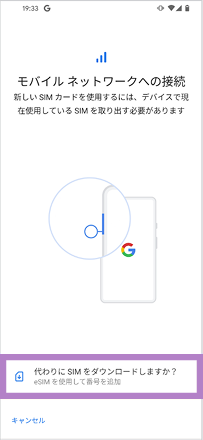
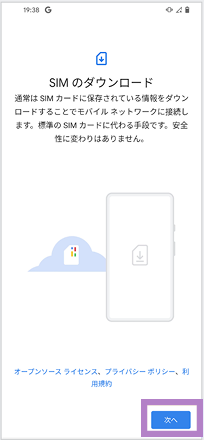
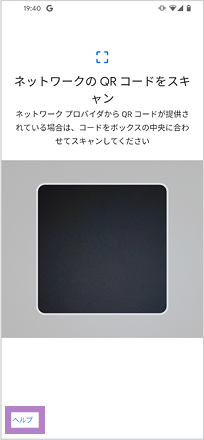
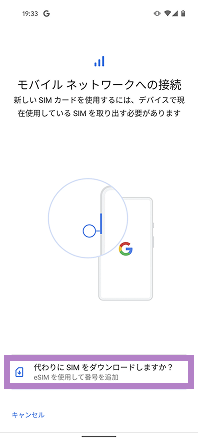
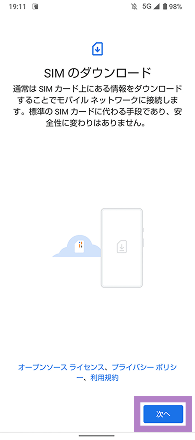
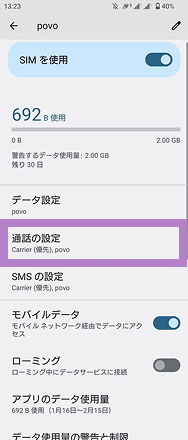
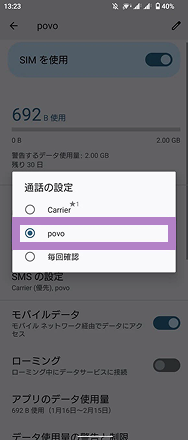
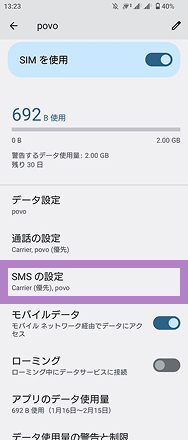
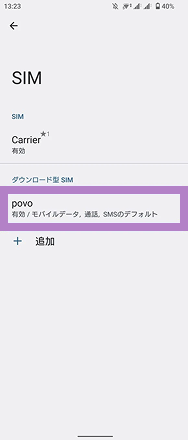
Follow the steps below to set your mobile network to povo.
*If you change from a SIM card to an eSIM, please remove the SIM card you were using previously.

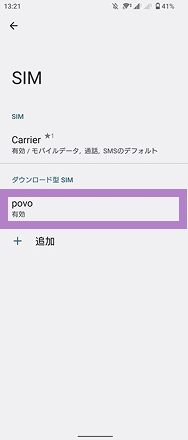
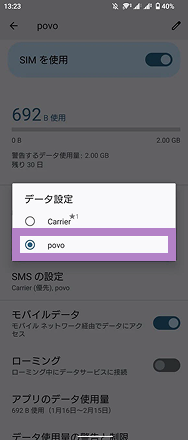
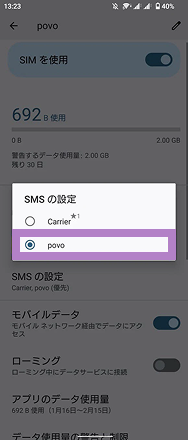
★1 The name of the carrier you are currently using will be displayed. The notation will vary depending on your usage, so for convenience we will refer to it as "Carrier" here.*You can check your contracted phone number by tapping the <human icon> in the upper left corner of the povo2.0 app home screen and going to your profile. You cannot check your phone number on the device settings screen.
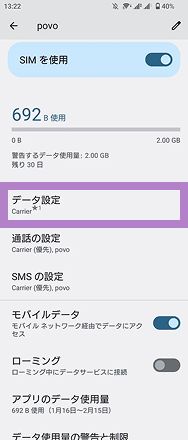
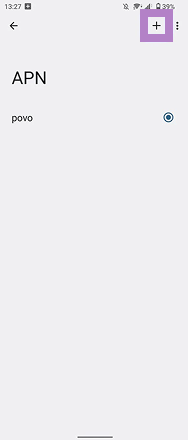
Please set the APN for povo2.0 and select it.
* In most cases, APN settings are required for Android smartphones purchased from au.* This setting is not necessary if "4G" or "5G" is displayed next to the signal icon, or if data communication is possible with Wi-Fi turned off.* The item name may be displayed differently depending on the model. Please refer to the instruction manual for instructions on how to add an APN (Access Point Name).


Items to be entered
[name]
povo2.0
[APN]
povo
[APN Protocol]
IPv4 / IPv6
Please call the test number (111/toll-free), listen to the guidance to the end, and then hang up.
*The test number (111) cannot be used from outside Japan.
With Wi-Fi turned off, open your browser and check whether you can access the website (https:// povo.jp) using mobile data.
* Before purchasing data Topping, it may take some time for the screen to display, but as long as the screen is displayed, there is no problem.* To access from outside Japan, you will need to purchase "Overseas data Topping."
Once the call test and mobile data communication test are complete, the SIM card activation procedure is complete.
Purchase Topping and enjoy the world of povo
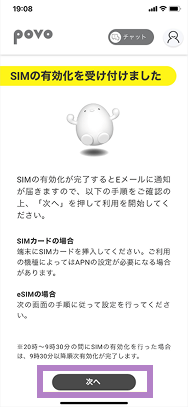
 SIM Card
 eSIM
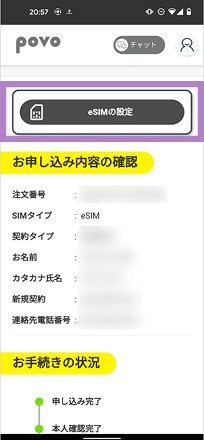
eSIM


