When upgrading to a new iPhone yourself, transferring apps and data is easy as long as you follow the steps. Why not try upgrading your phone by referring to the methods and steps introduced here?

Before changing your phone model, there are a few things you need to prepare. If you try to transfer your data without preparing these things, you may run into problems later, so be sure to complete them.
Changing your phone model requires you to perform operations that you normally wouldn't perform, such as transferring data and replacing the SIM card, which can lead to the risk of losing data if you make a mistake.
Of the data transfer methods described below, the methods using iTunes and iCloud require you to back up your data. However, even if you use other methods, it's a good idea to back up your data just in case something goes wrong.
You need your Apple ID and password to restore backup data on your iPhone, purchase apps, etc. However, if you've been using the same model for a long time, you may have forgotten your Apple ID or password.
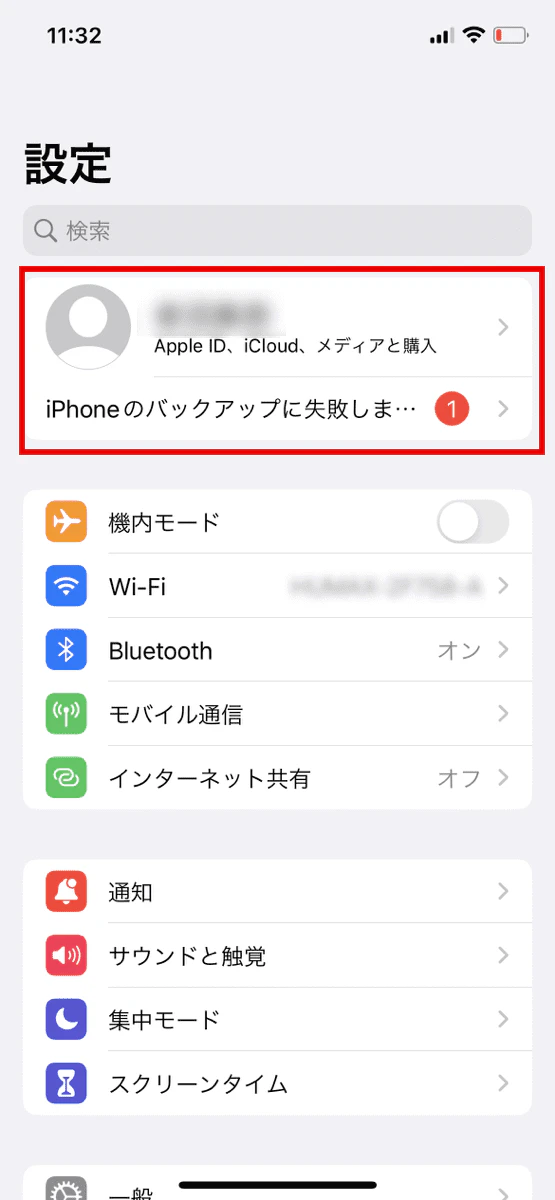
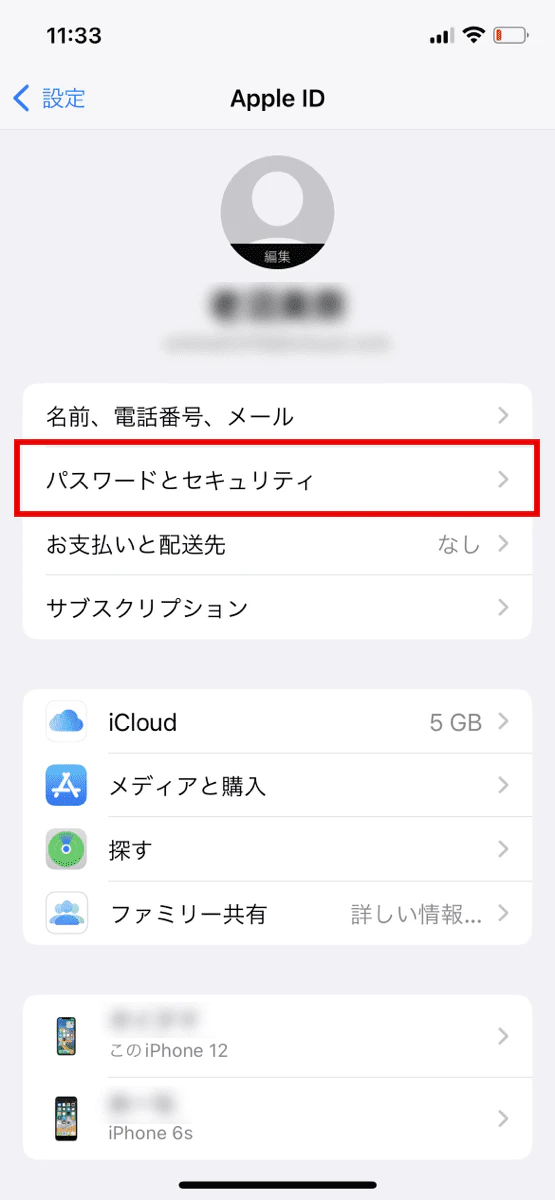
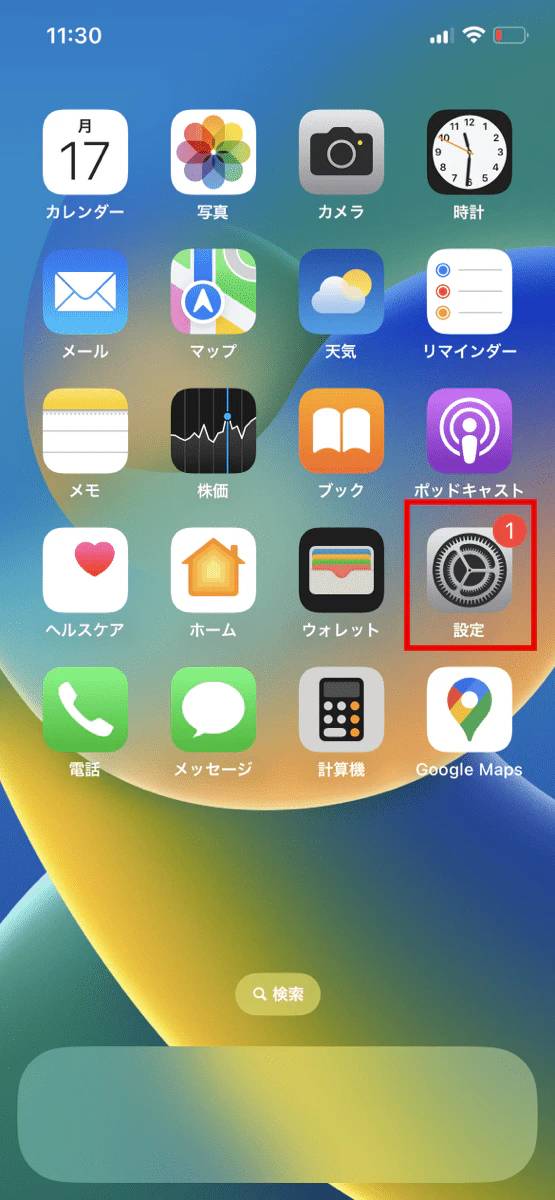
To check your Apple ID, go to "Settings" on your iPhone, tap "Account Name," and it will be displayed under your name. If you have forgotten your password, you will need to reset it.

In addition to your Apple ID, be sure to also write down the passcode you enter when waking your device from sleep mode, etc.
If you are thinking of trading in your old iPhone after upgrading your phone, make sure to turn off the "Find My iPhone" feature. If you reset your phone with the "Find My iPhone" feature turned on, the device will automatically be locked and will become unusable.

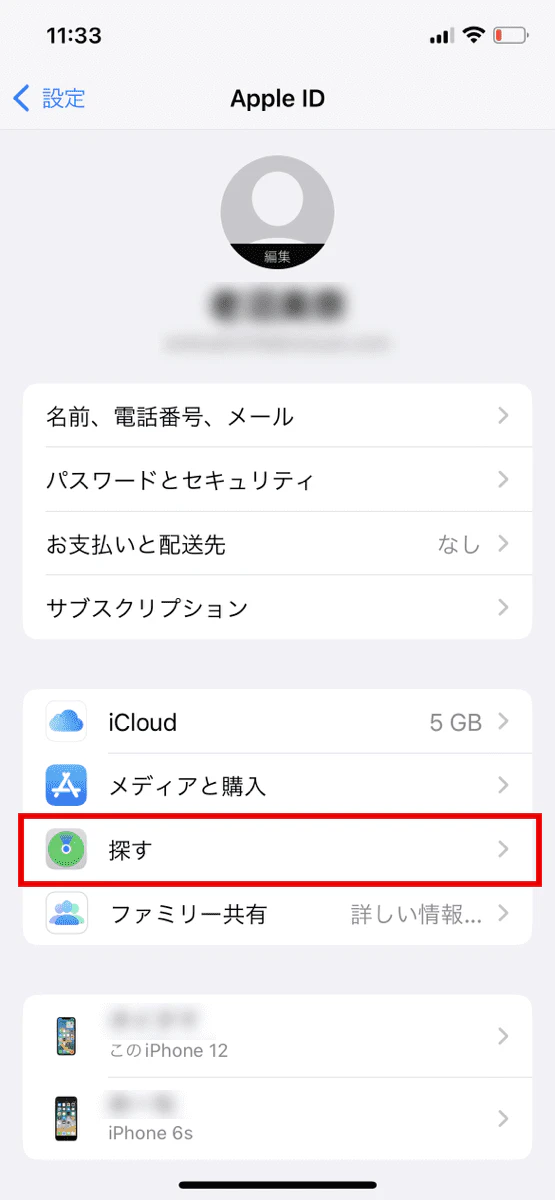
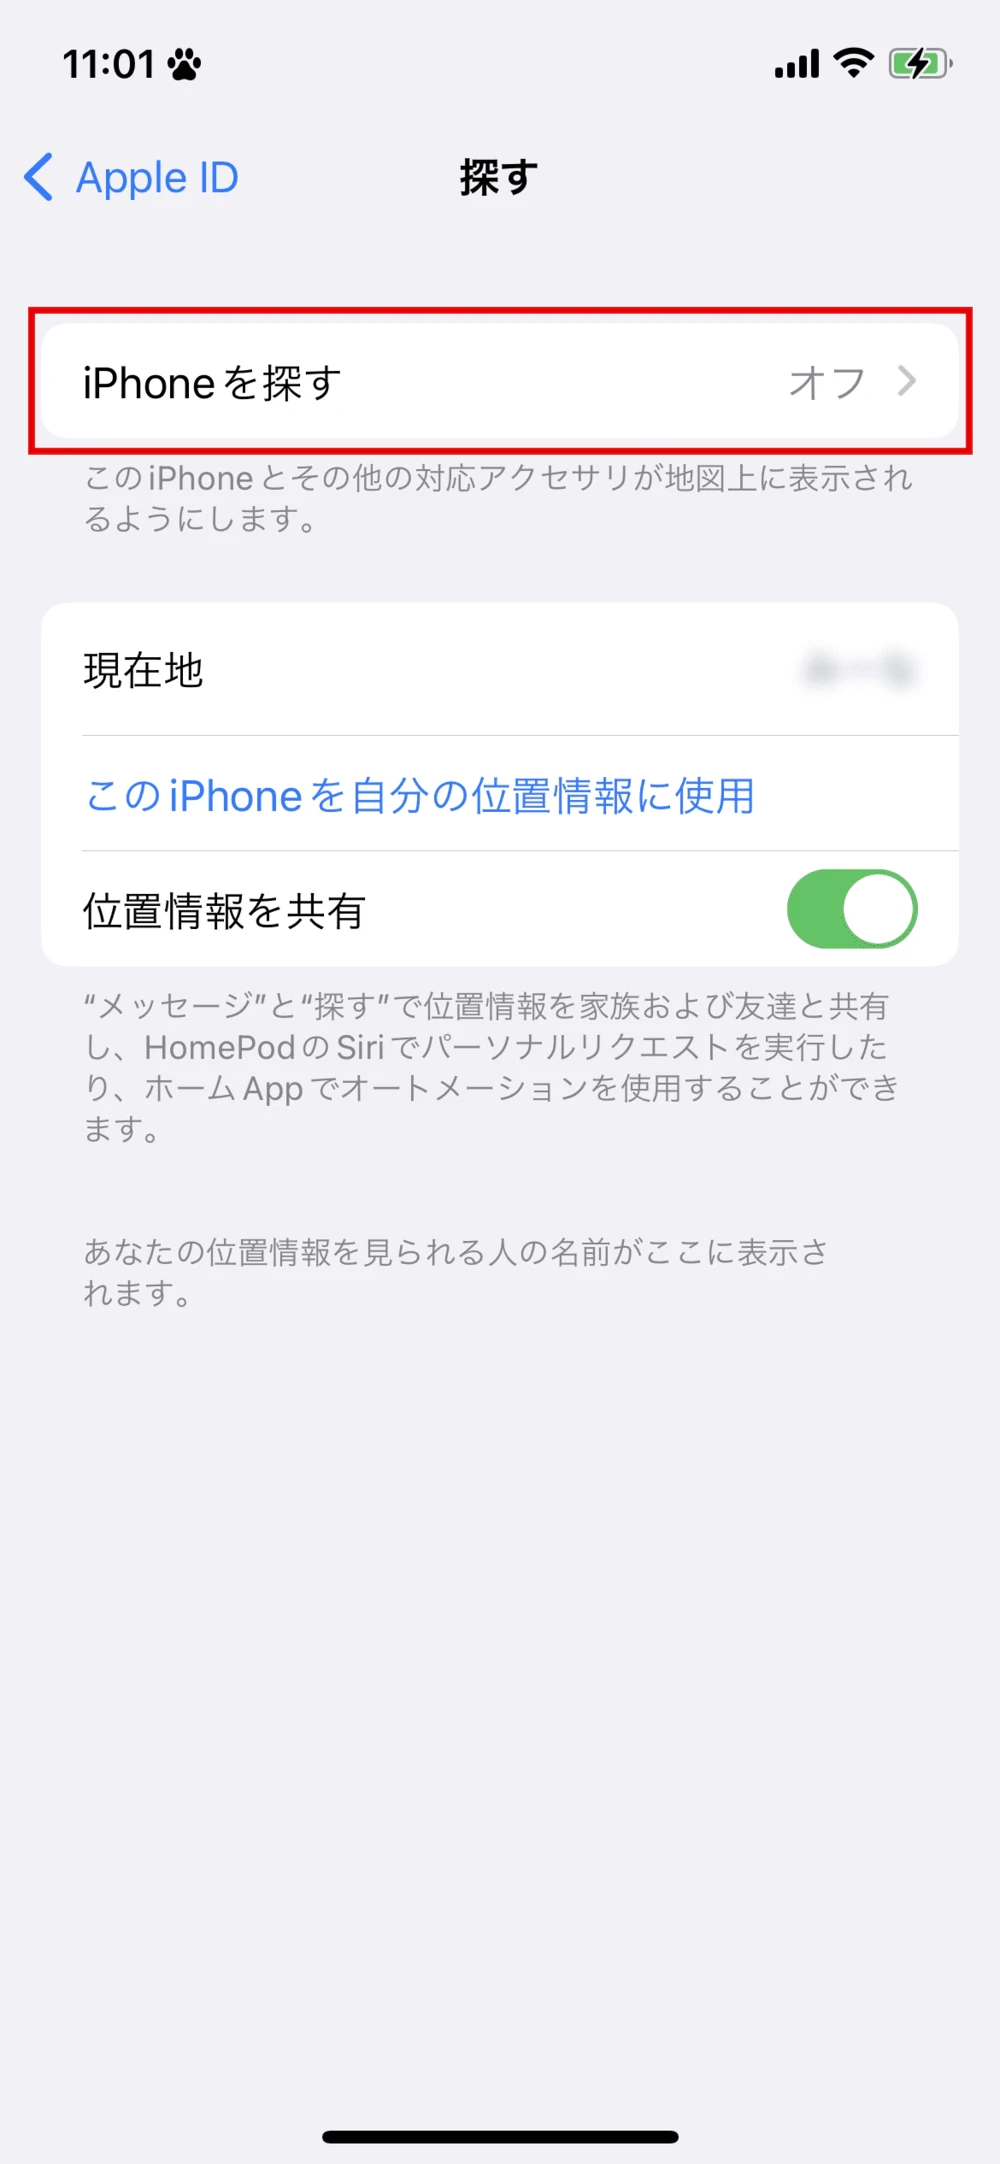
To turn off the feature, go to Settings on your iPhone or sign in to iCloud on your computer.
When transferring data from an iPhone, not all data can be transferred. While the apps themselves can be transferred, there are some apps whose data cannot be transferred.
Typical apps that require data transfer include LINE, Suica, Google Account, two-factor authentication apps, and Apple Watch. For example, LINE's notification sound settings cannot be automatically transferred. For these apps, you will need to set up the transfer for each app in advance.
I will now explain in detail how to do this.
To get started with Quick Start, you need to do three things:
I will explain these in order.
First, make sure you update your iOS to the latest version before changing your device. To use Quick Start, you need iOS 12.4 or later.
Also, since Quick Start can take several hours from start to finish, make sure both your old and new devices are fully charged. We recommend that you also charge them while you work.
By the way, you can shorten the time it takes to complete the process by reducing the amount of data on your old device. This can be done by deleting unnecessary apps and storing photos and videos on iCloud.
Once the device is fully charged, turn on Bluetooth on your old device and connect it to the internet via Wi-Fi or a wired connection. While it is possible to use a Bluetooth-only connection, we do not recommend it as the transfer may take a long time or be interrupted.
The quick start procedure is as follows:
Here are some points to note when working with this product.
Do not complete the initial setup of your new device in step 1. Details are explained next.
4. You can set up Face ID or Touch ID later.
Once the transfer is complete, the new device will automatically restart and the old device will display "Transfer complete."
Here are a few points to note about Quick Start. First, Quick Start can only be used between iPhones running iOS 12.4 or later. Please note that it cannot be used if your previous smartphone is an older iPhone or Android.
Next, if you complete the initial setup of your new iPhone before starting Quick Start, you will not be able to use Quick Start. If you have already completed the initial setup, you will need to reset your device or transfer your data using another method described below.
\You can change your device online/


If you can't use Quick Start, you can use iTunes, iCloud, or your carrier's data transfer app.
We will explain each method and points to note.
You will need a computer to transfer data using iTunes.
First, back up the data on your old iPhone. Follow these steps:
Here are the steps to restore your data to your new iPhone:
Data transfer using iCloud is done in the same way as with iTunes: you back up your old iPhone and then restore it to your new iPhone. First, we'll explain the backup procedure.
After step 3, if you see "iCloud Backup is off," turn it on.
Also, if you don't have enough iCloud storage space (the amount of data you can store in iCloud), you'll see a message telling you that you can use additional iCloud storage for free. Tap "Continue." This is a service that allows you to temporarily use free storage even if you don't have enough iCloud storage space when changing your device.
Next, we will explain how to restore data to a new device.
Next, we will explain the data transfer apps provided by each major carrier. This method can also be used when switching from an Android to an iPhone. Each carrier has the following apps:
Each carrier's data transfer app has its own set of data that can be transferred, so it's important to check in advance.
Also, if you are switching from Android to iPhone, it is a good idea to use the "Move to iOS" app as well.
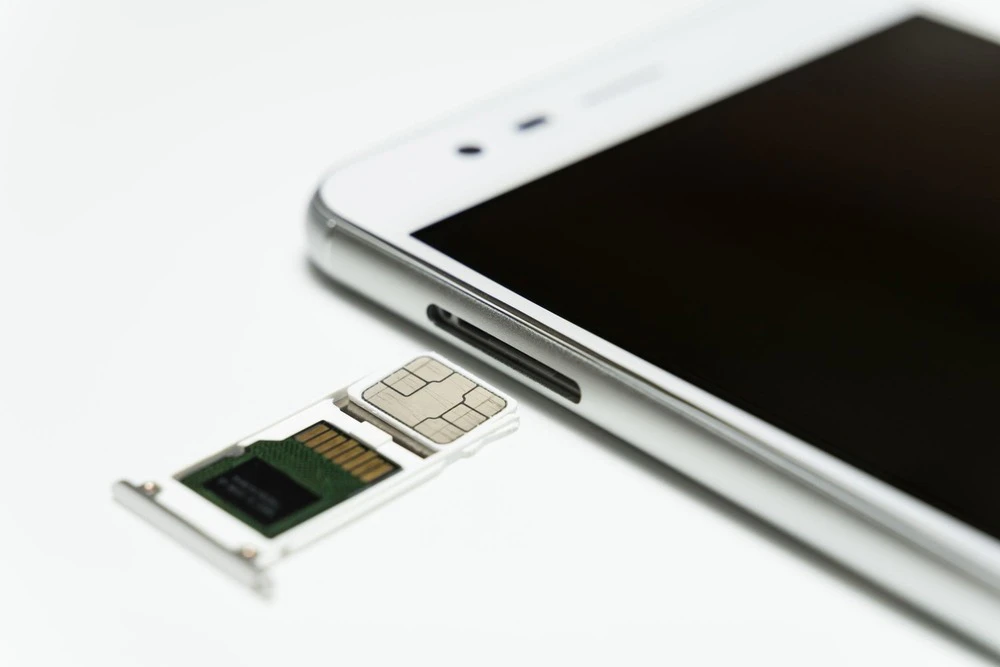
The SIM card contains subscriber information and is necessary for making calls and communicating via 4G, 5G, etc. When changing smartphone models, including iPhones, you will need to replace the SIM card.
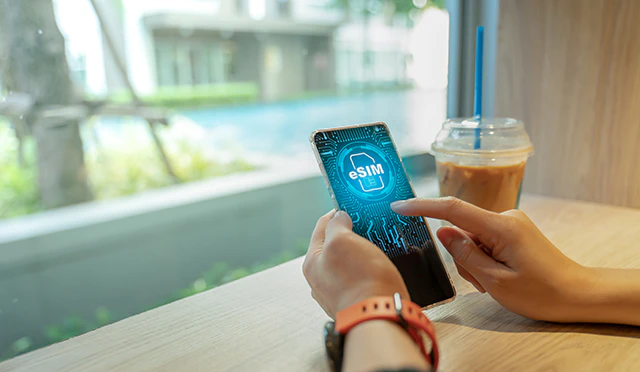
However, recently, an increasing number of models are equipped with eSIMs, which have a built-in SIM card and do not require replacement. From here, we will explain when to replace the SIM card.
Currently, there are three types of SIM cards, each with a different size: miniSIM, microSIM, and nanoSIM. The most common is the nanoSIM, and this is the card that has been used since the iPhone 5, released in 2012.
Although data transfer uses Wi-Fi and Bluetooth, it does not involve communication via the SIM card. Therefore, you can change the SIM card either before or after the data transfer.
To change the SIM card, follow the steps below:
Be careful not to touch the metal part of the removed SIM card. It is also vulnerable to static electricity, so be careful. Also, be careful about the orientation of the card when inserting it. Forcing it in can cause damage.
iPhones starting with the iPhone XS, iPhone XS Max, and iPhone XR use eSIM, which does not require the insertion or removal of a physical card.
In the case of eSIM, your carrier will issue you a QR code for setting up the eSIM, and you can use it by scanning the QR code. Using povo2.0 's eSIM quick transfer service will make changing your phone even easier. See the end of this article for details.
If you are upgrading to an iPhone, we recommend using povo2.0 (*1). When using povo2.0, you can also purchase the device from au Online Shop.
By using the "Smartphone Tokusuru Program / Smartphone Tokusuru Bonus," you can purchase a device at a lower price and avoid installment fees. The "Smartphone Tokusuru Program" allows you to pay for your smartphone in installments, and if you trade in your device in the 25th month, you won't have to pay the final installment (*2). If you upgrade your model at au Online Shop every two years, you can get a great deal on a smartphone.
In addition, with the "Smartphone Tokusuru Bonus," if you pay with an au PAY Card for payments made under the Smartphone Tokusuru Program, up to 3% of the total installment payment amount will be returned in Ponta points. (*3) If you use the Smartphone Tokusuru Program, we recommend using it in conjunction with the Smartphone Tokusuru Bonus.
For more information about the Smartphone Special Program and bonuses, please refer to this page.
Additionally, if you're using iOS 16 or later, you can use eSIM Quick Transfer. As mentioned earlier, setting up an eSIM usually requires issuing a QR code. However, with eSIM Quick Transfer, you can easily download the eSIM from the iPhone settings menu, making it easier than ever to switch devices.
Reference: "eSIM Quick Transfer (Reissue eSIM from iPhone Settings)"
\3 easy steps with the app/